Add
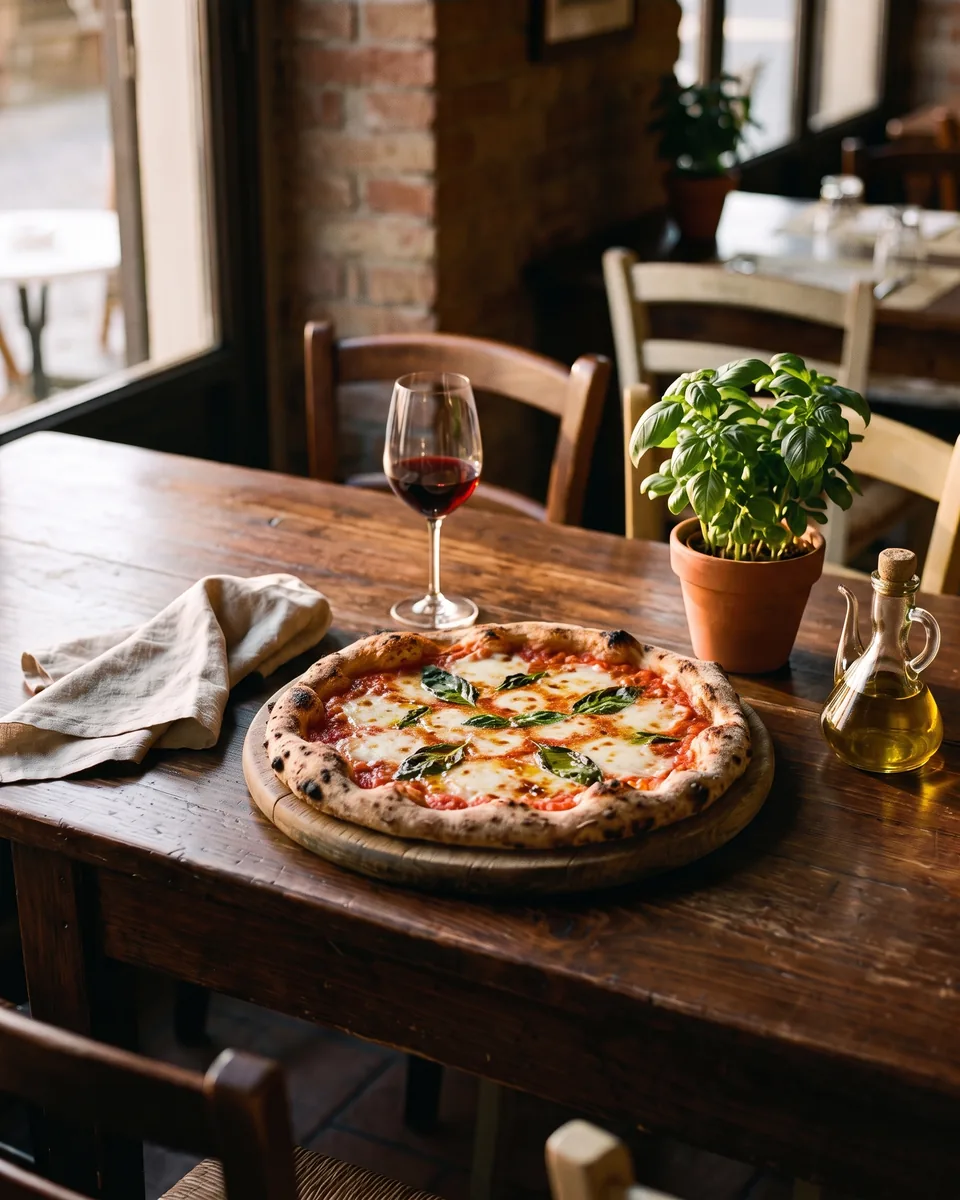
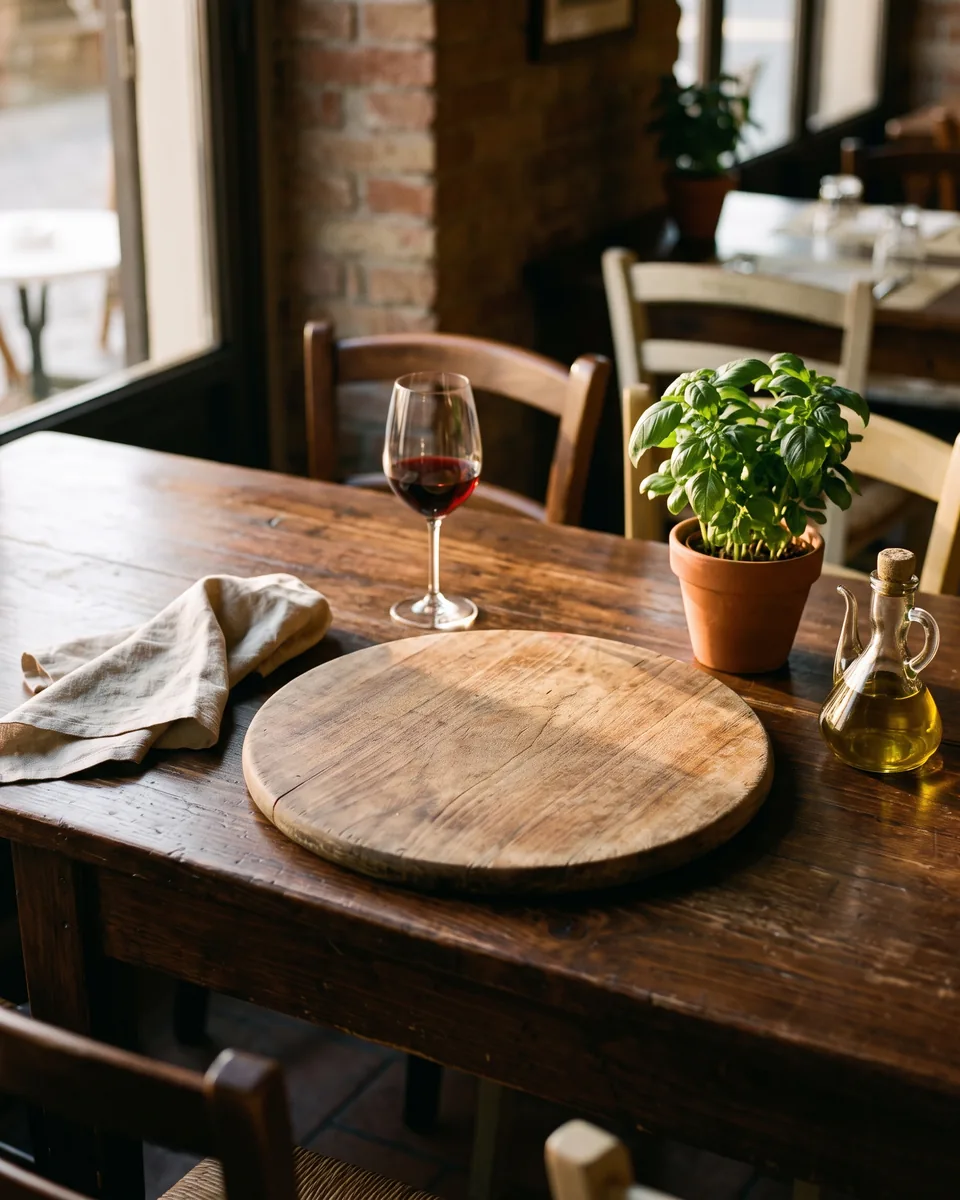
“a wood-fired margherita pizza with a blistered crust, melted mozzarella and fresh basil leaves”
An empty serving board becomes a menu-ready shot. The pizza picks up the warm window light and casts its own shadow on the board.
NewMatch any reference image
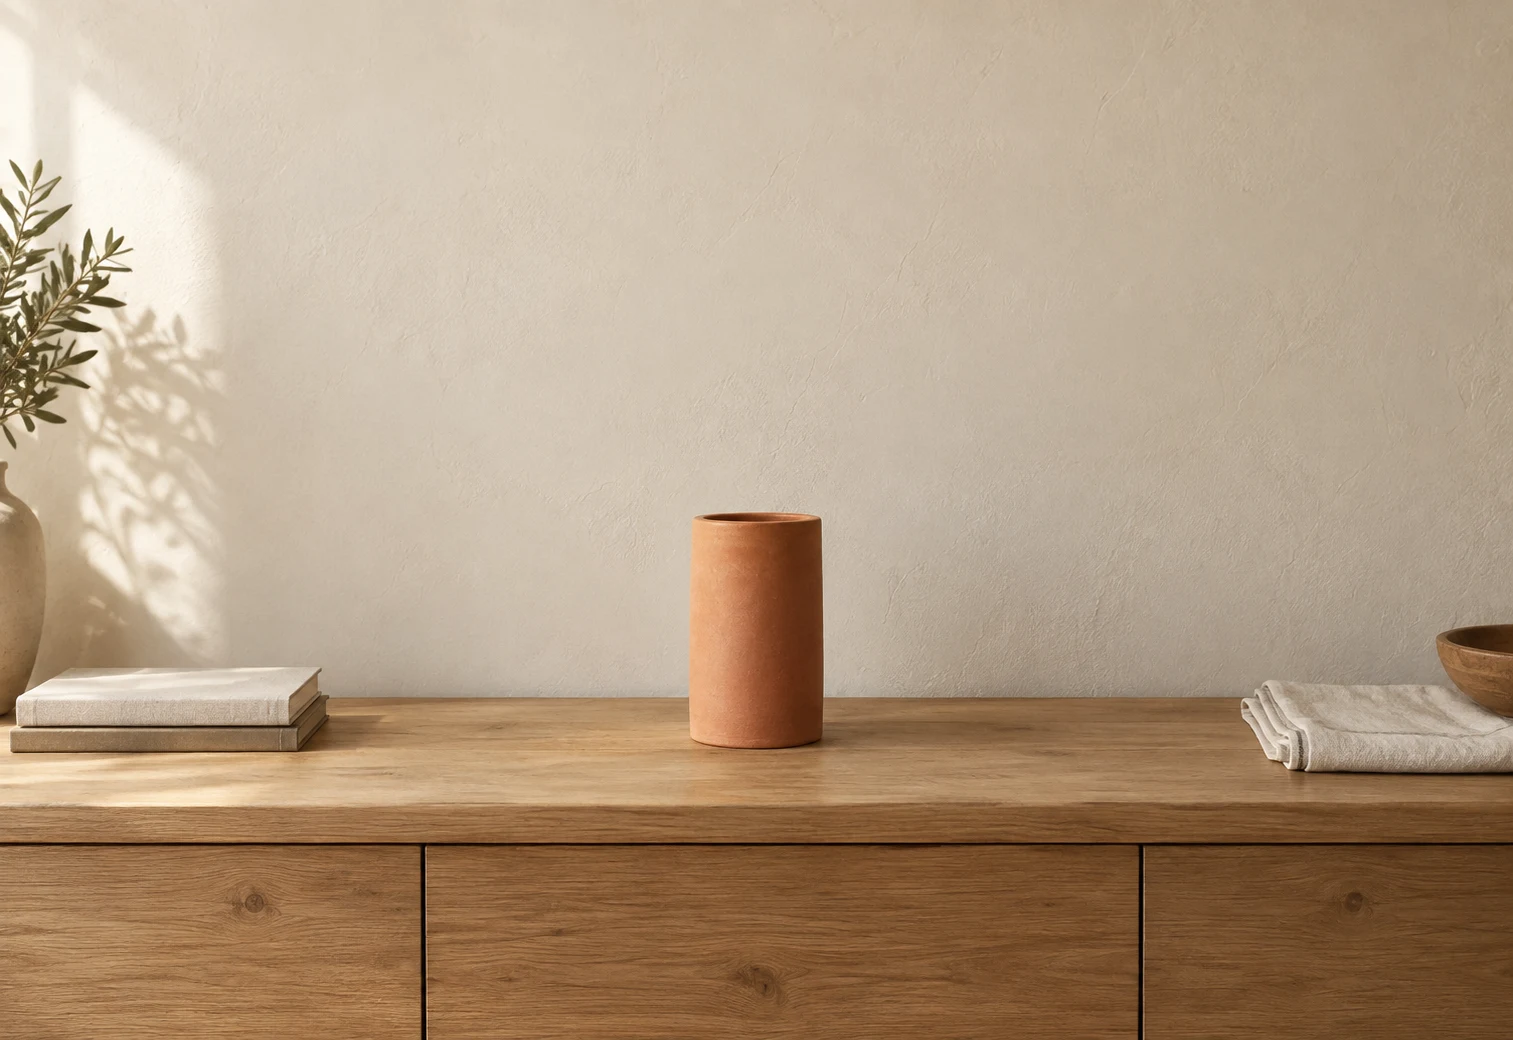
Brush over any part of a photo, type what you want to see, and our AI generative fill adds it, replaces it, or removes it. The new pixels match the light, shadows, and perspective of the original. No Photoshop and no subscription needed.
or drop an image anywhere on the pageJPG, PNG, or WebP, up to 10 MB
No photo handy? Try a sample:
Examples
Every after image in this gallery, and in the feature and use-case cards further down, is an unretouched result from this editor. We brushed each photo by hand (or described the change in one sentence with Edit), ran it twice and kept the better result. The original photos are sample scenes. Copy a prompt and try it on your own picture; results vary from photo to photo.
“a wood-fired margherita pizza with a blistered crust, melted mozzarella and fresh basil leaves”
An empty serving board becomes a menu-ready shot. The pizza picks up the warm window light and casts its own shadow on the board.
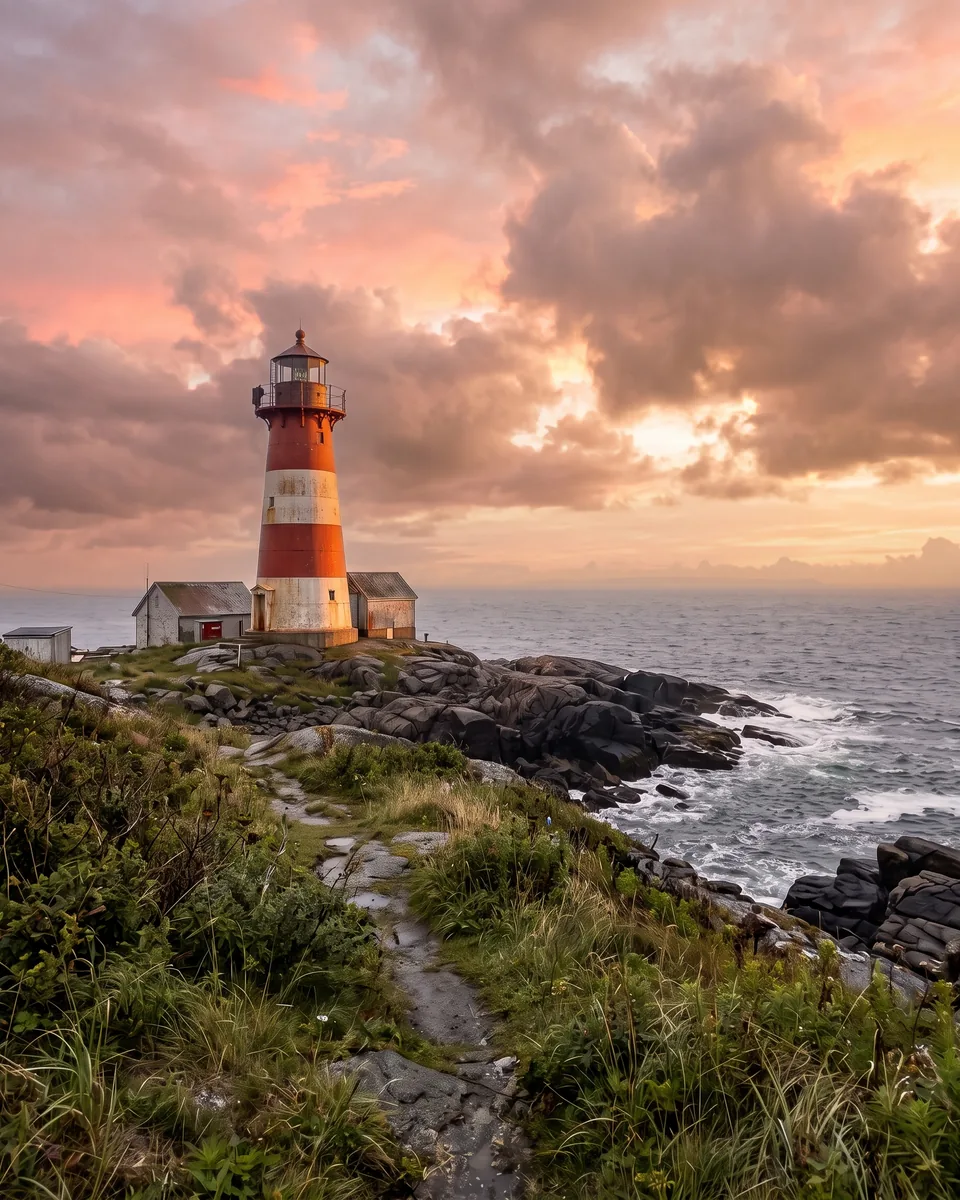
“a dramatic golden-hour sky with glowing pink and orange clouds, warm sunlight on the lighthouse”
A flat grey sky turns into golden hour, and the lighthouse and rocks pick up the warm light.
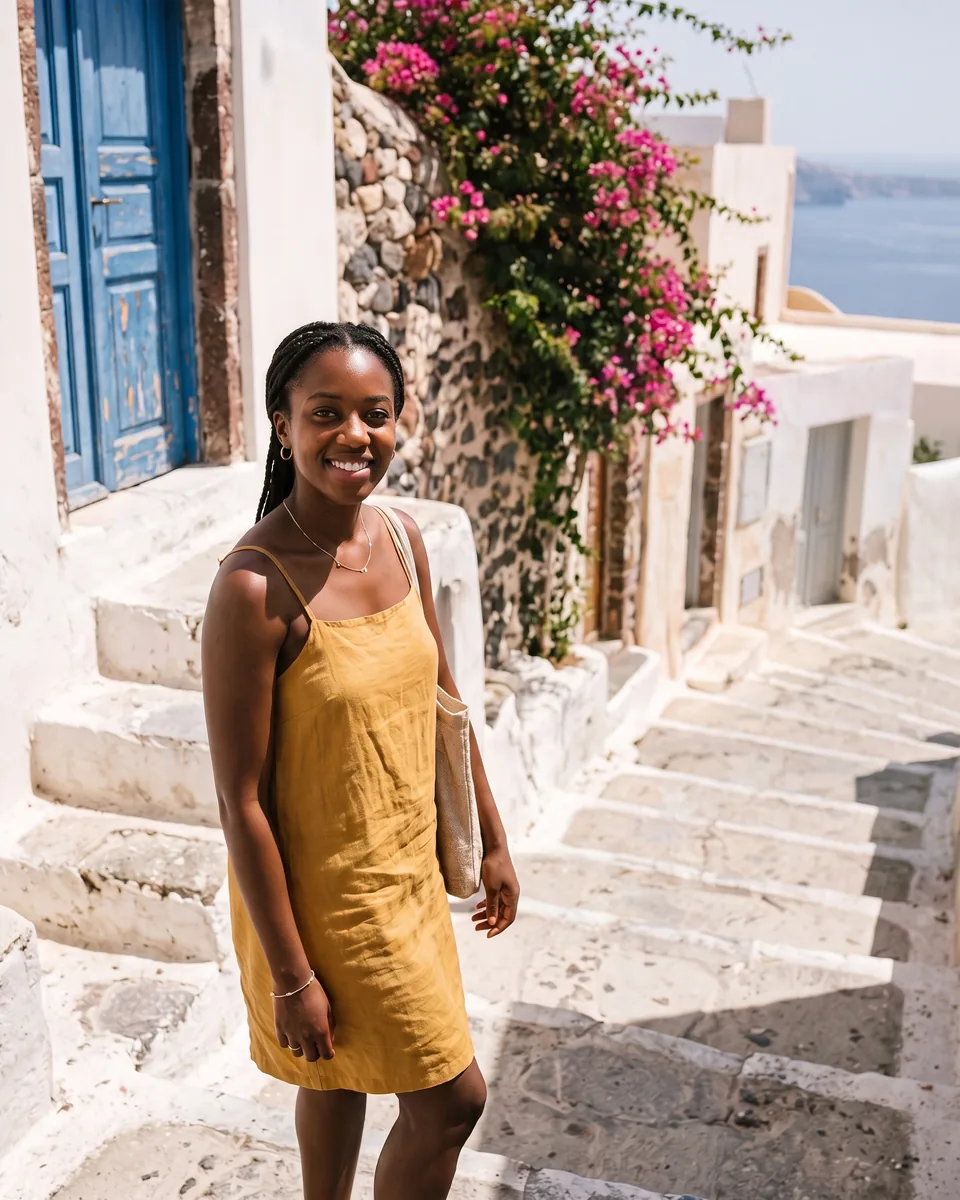
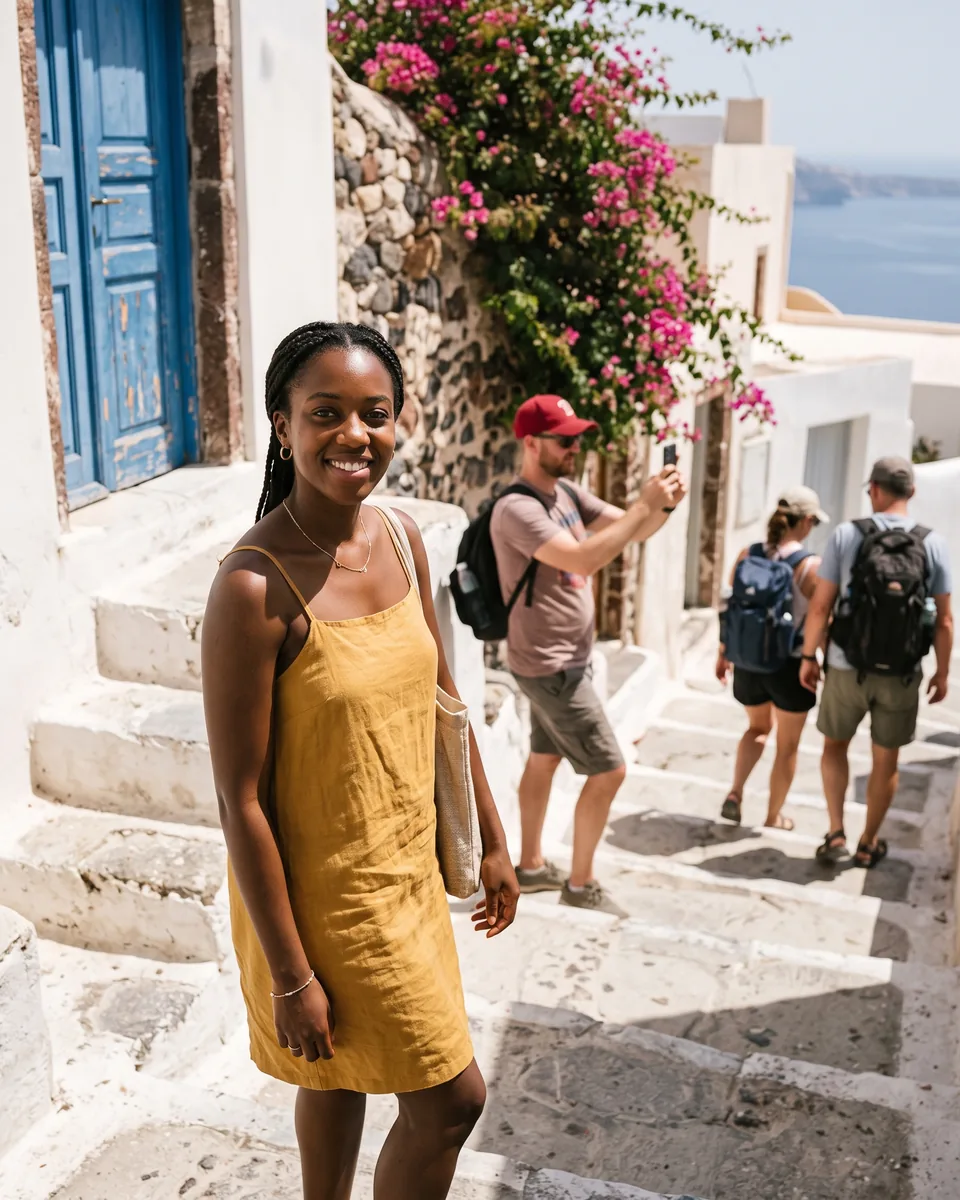
Prompt left empty
Three tourists on the stairs disappear, and the steps, walls and shadows behind them are rebuilt.
Done. Now try your own photo.
Try AI Generative Fill Now
The basics
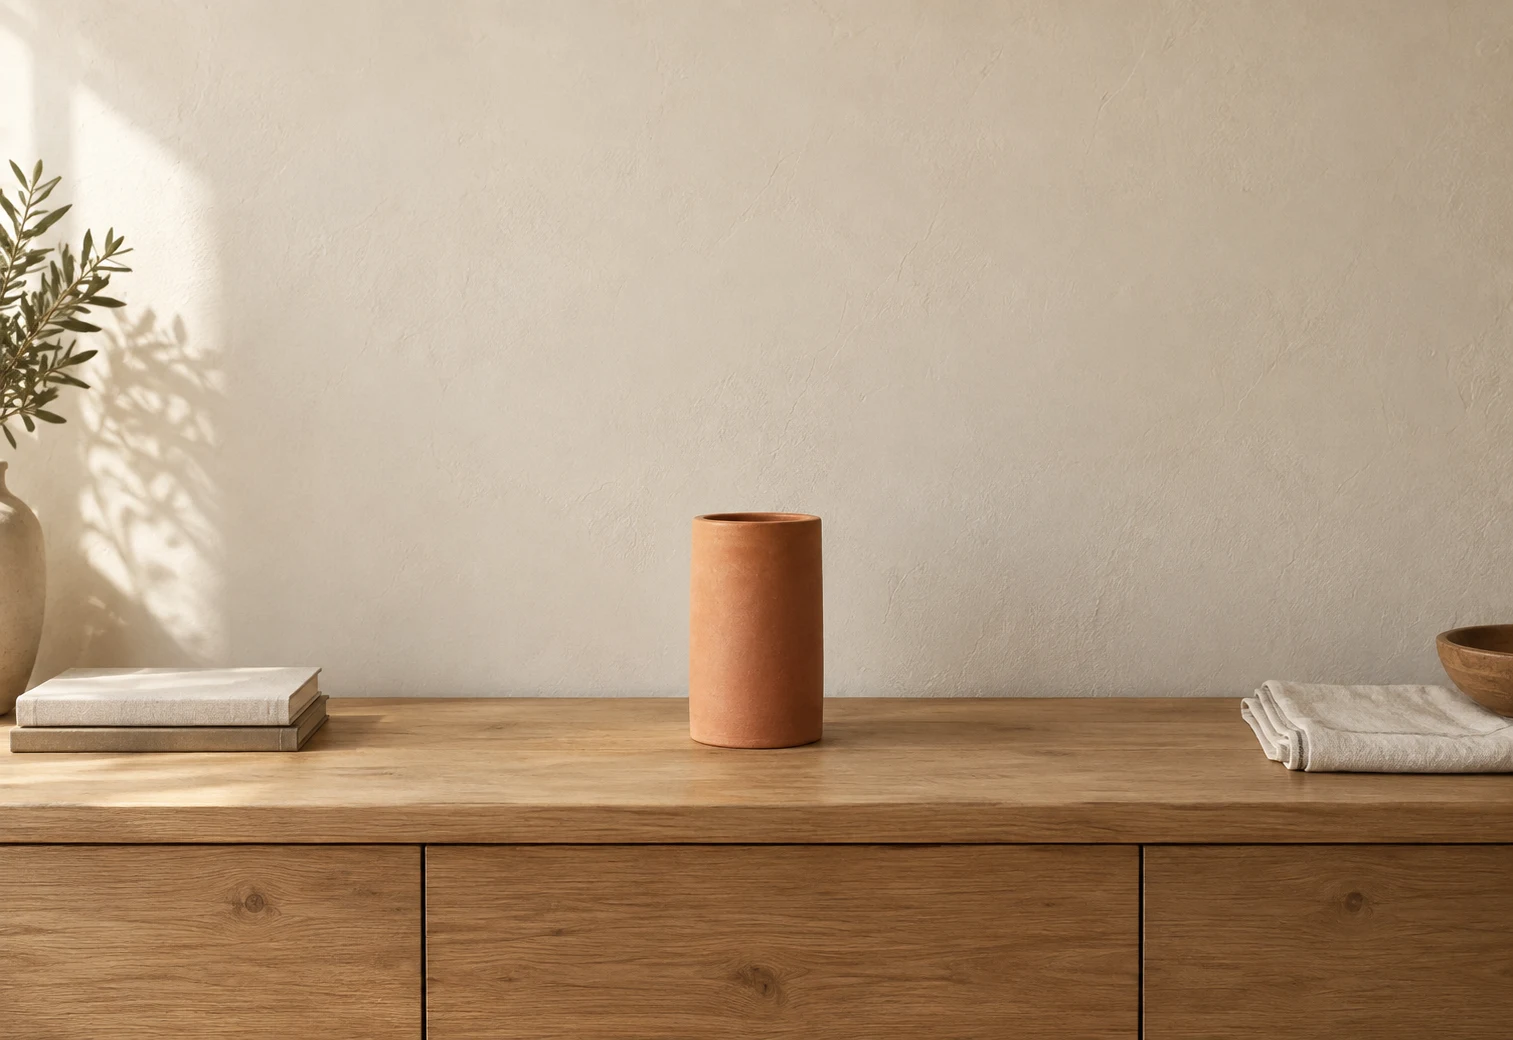
AI generative fill is an editing technique that changes only the part of an image you select. You mark an area, write a short text prompt, and an image model paints new pixels into that area so they blend with everything around them. You may also see it called AI inpainting or an AI image filler.
Adobe made the term popular when it added Generative Fill to Photoshop in 2023, but the technology behind it, called inpainting, is not tied to one app. Today, AI generative fill runs on modern image models that work directly in a web browser.
The key difference from a normal AI image generator is control. An image generator creates a whole new picture from scratch. Generative fill keeps your original photo and edits one region, so the person, product, or room you care about stays exactly as it was.
Three steps
Upload a photo, then brush over the area you want to change or drag a rectangle around it. Cover the whole object plus a small margin. A slightly larger selection gives the AI room to blend the edges.
Type what should appear in the selected area, such as "a wooden bench" or "a clear blue sky." To remove something, leave the prompt empty. Add a reference image if the result needs to match a specific product, style, or color.
AI generative fill returns three variations. Compare them, choose the one that looks most natural, and download it. You can also select a new area and keep editing on top of your result.
Under the hood
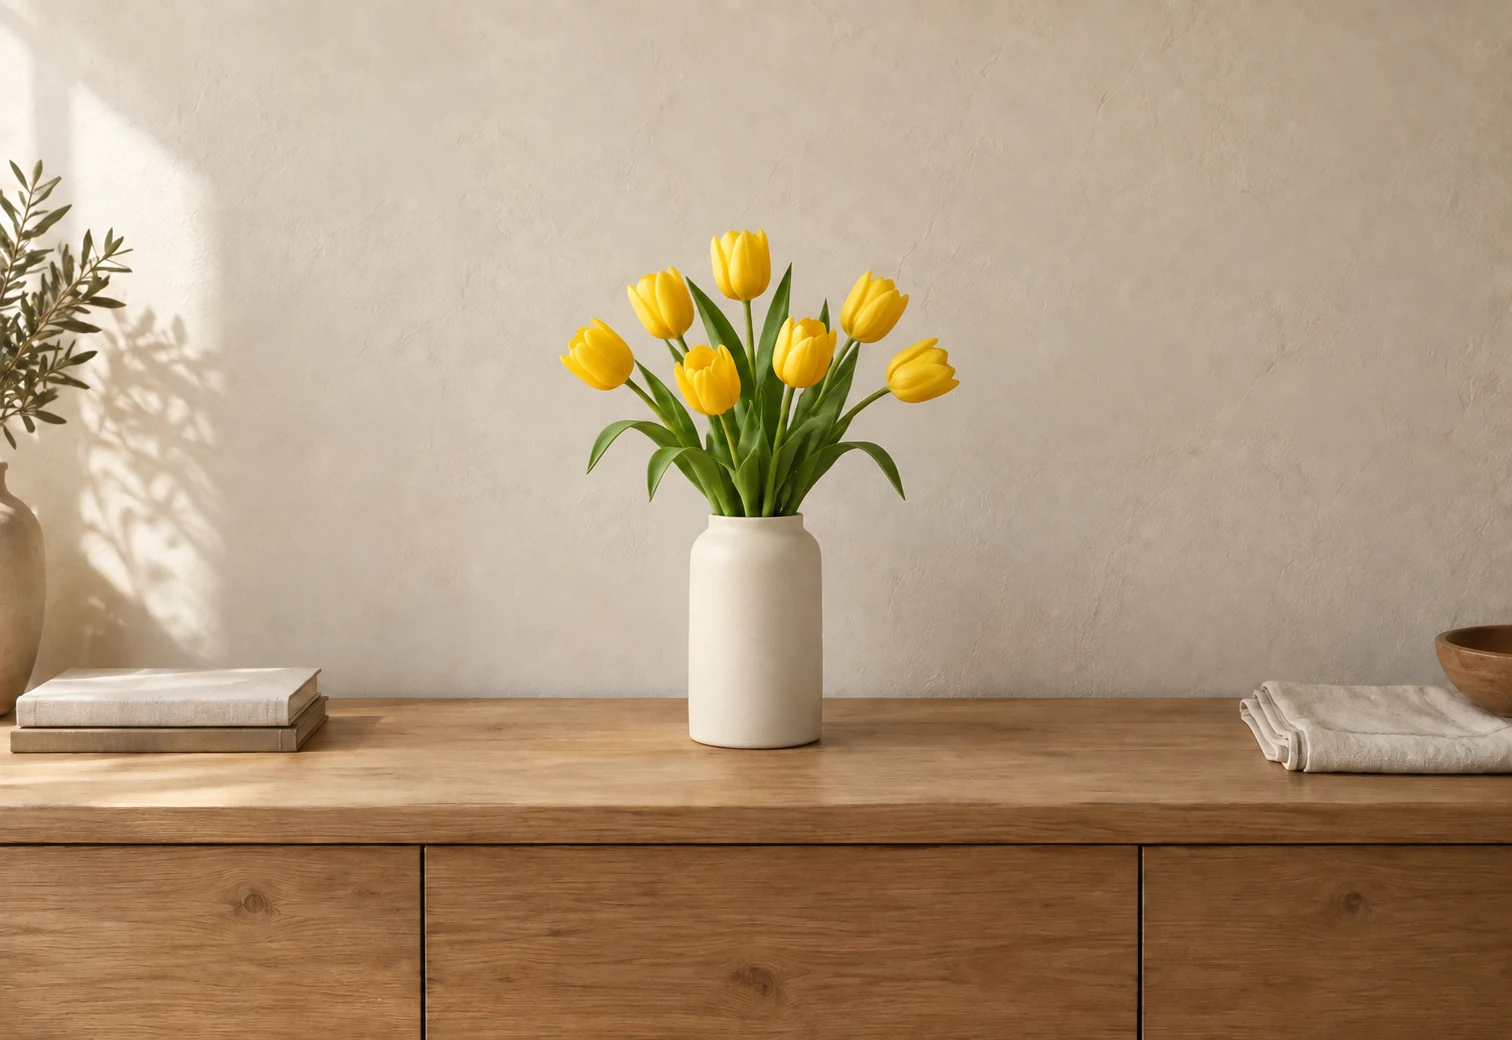
When you click Generate, the model studies the pixels around your selection before it paints anything. It reads the direction and color of the light, the depth of the scene, the grain of the photo, and the edges of nearby objects. Then it creates new content that follows the same rules, so a lamp you add casts a shadow on the correct side and a patch of sky picks up the same haze as the rest of the horizon.
Your prompt tells the model what to create, and the surroundings tell it how that content should look. This is why a clear selection and a short, specific prompt usually beat a long description. After each generation, we paste the untouched area back from your original file, so nothing outside the mask shifts, blurs, or changes color.
Capabilities
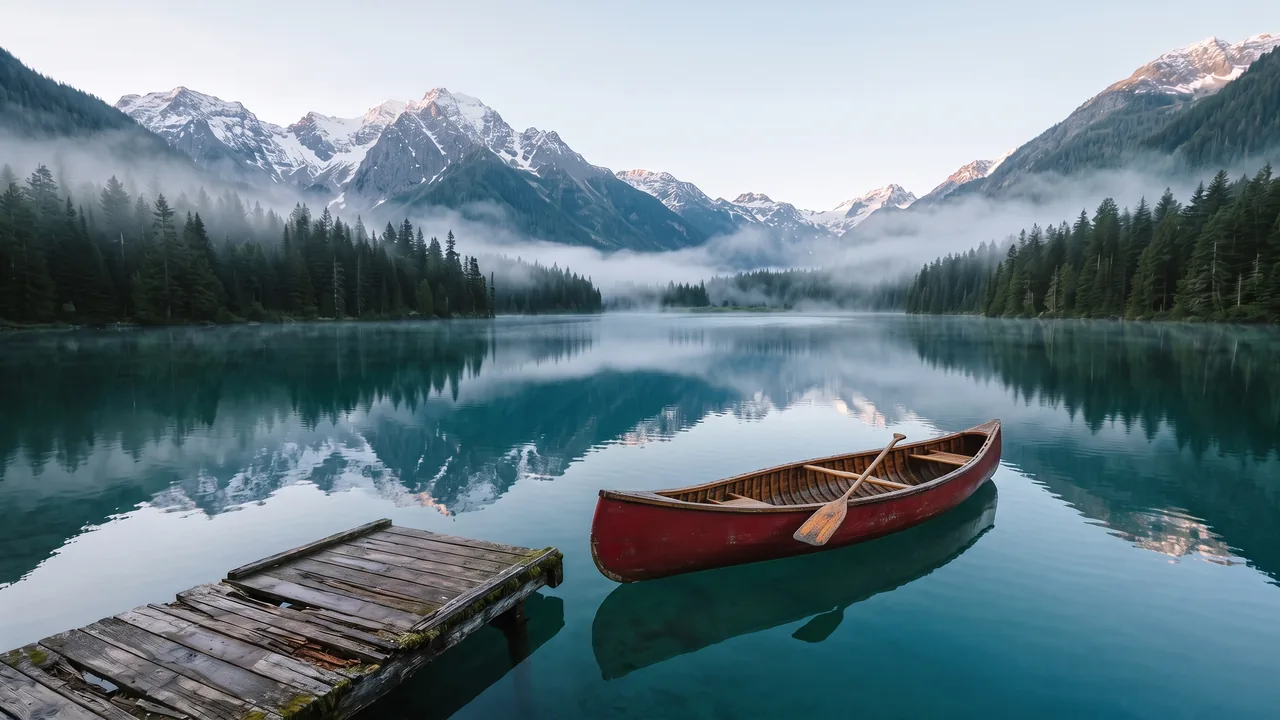
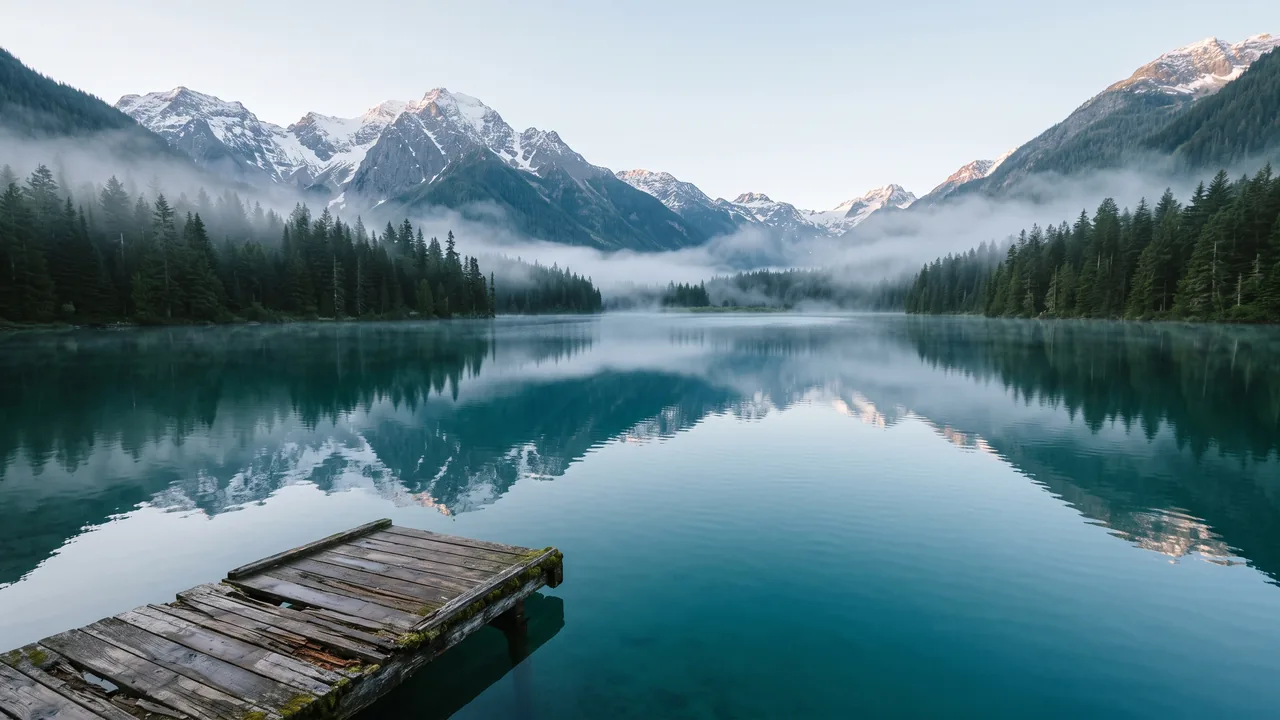
Put a plant on an empty shelf, a boat on a quiet lake, or a coffee cup next to a laptop. Brush where the object should go, describe it, and the AI places it with shadows and reflections that match the scene.

Select the object you want to swap and describe its replacement. Turn a plain wall into brick, a T-shirt into a blazer, or a gray sky into a sunset. Everything outside your selection stays untouched.
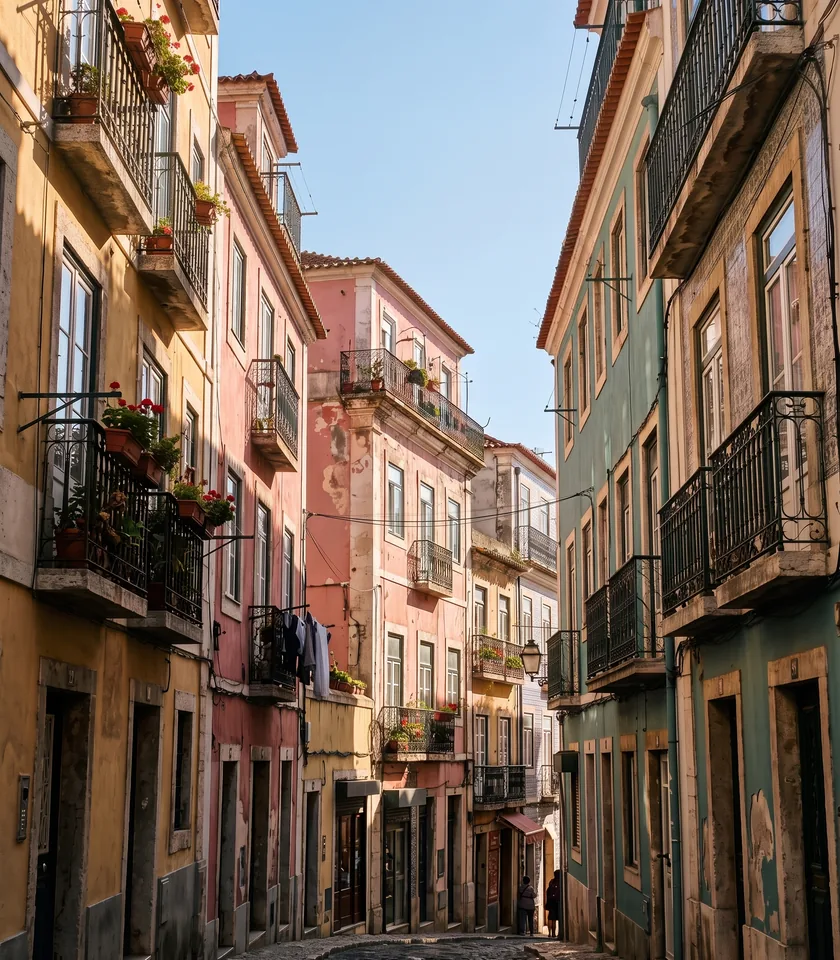
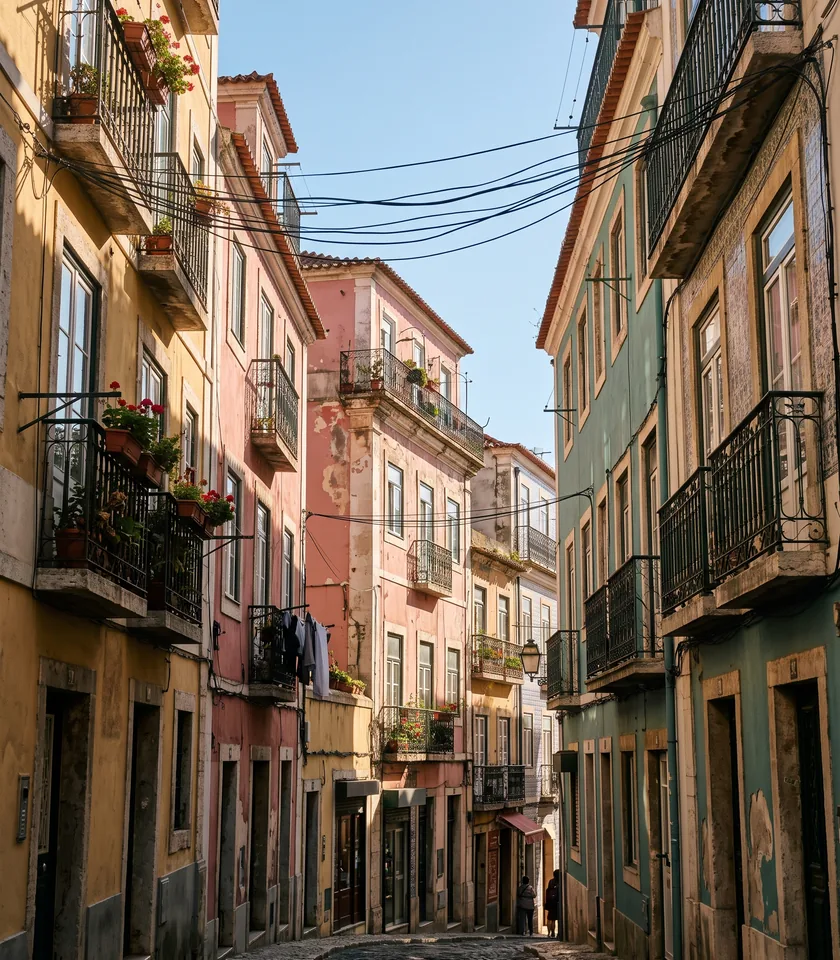
Brush over a stranger, a power line, a logo, or a stain, then click Generate without typing anything. Generative fill rebuilds the background as if the object had never been there.
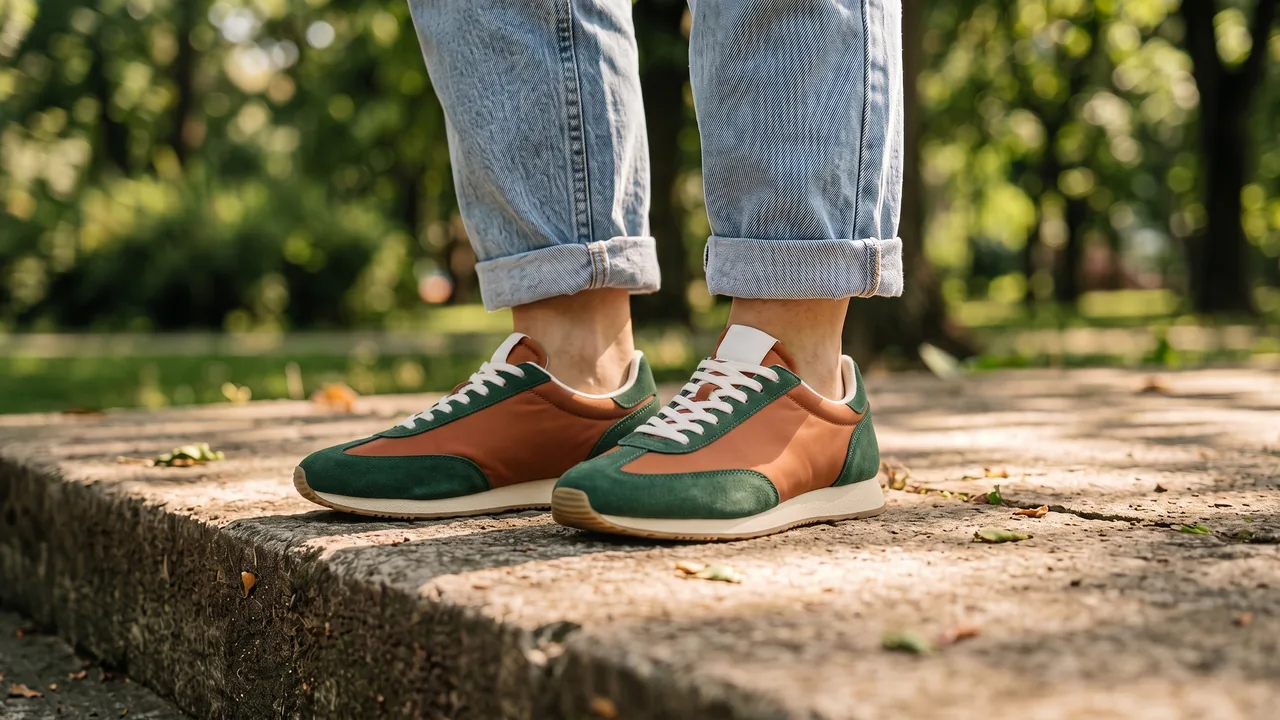
Words only go so far. Upload a reference image and the AI will follow its look: the exact sneaker model, the pattern on a fabric, or the color palette of your brand. This is the fastest way to get consistent results across a set of photos.
Why GenerativeFill
There is nothing to install. Open the page on a laptop, tablet, or phone and start editing.
Every generation gives you three options, so you rarely need to rewrite your prompt.
Only the selected area changes. Faces, text, and products outside the selection keep their original pixels.
Show the AI what you mean instead of trying to describe it in words.
Paid plans and credit packs download without a watermark, at up to 4K, ready to post, print or upload to your store.
Create a free account and try it on your own photo before you pay anything. Failed edits never cost credits.
Comparison
Photoshop's Generative Fill is a powerful feature, and if you already work in Photoshop every day, it fits naturally into your workflow. Many people, though, only need to fix or change a few photos. Paying for a Creative Cloud plan, installing a large desktop app, and learning layers and selections is a lot for that job. That is where an online tool helps: you get Photoshop-style generative fill online, in a browser tab, without the rest of Photoshop.
| Feature | GenerativeFill.ai | Photoshop Generative Fill |
|---|---|---|
| Price | Free to start, pay only for extra credits | Paid subscription with generative credits |
| Setup | Opens in any browser | Desktop app install |
| Learning curve | Upload, brush, type, done in a minute | Basic Photoshop skills needed |
| Variations | 3 per generation | 3 per generation |
| Reference image | Supported | Supported in recent versions |
| Best for | Quick edits, product photos, social posts | Complex, multi-layer compositing |
Our honest take: for detailed composites with many layers, Photoshop is still the more complete editor. For fast edits where you simply need generative fill to work, a browser tool gets you there in fewer steps.
Prompts
Good prompts are short and concrete. Name the object, add one or two details about material or color, and mention light if it matters. If a result is close but not perfect, keep the best variation, select only the part that still looks wrong, and run a smaller edit on top of it. Click any prompt below to try it:
Example prompts. Click one to use it.
Describe what should be there, not what to remove."Green lawn" works better than "remove the car."
Keep prompts under 15 words.Long prompts tend to confuse the model.
Select a bit more than the object.Tight selections can leave a visible outline.
Match the style of the photo.Add "photorealistic" for photos or "flat illustration" for graphics.
Generate again.If none of the three variations fit, a second round often lands.
Use cases

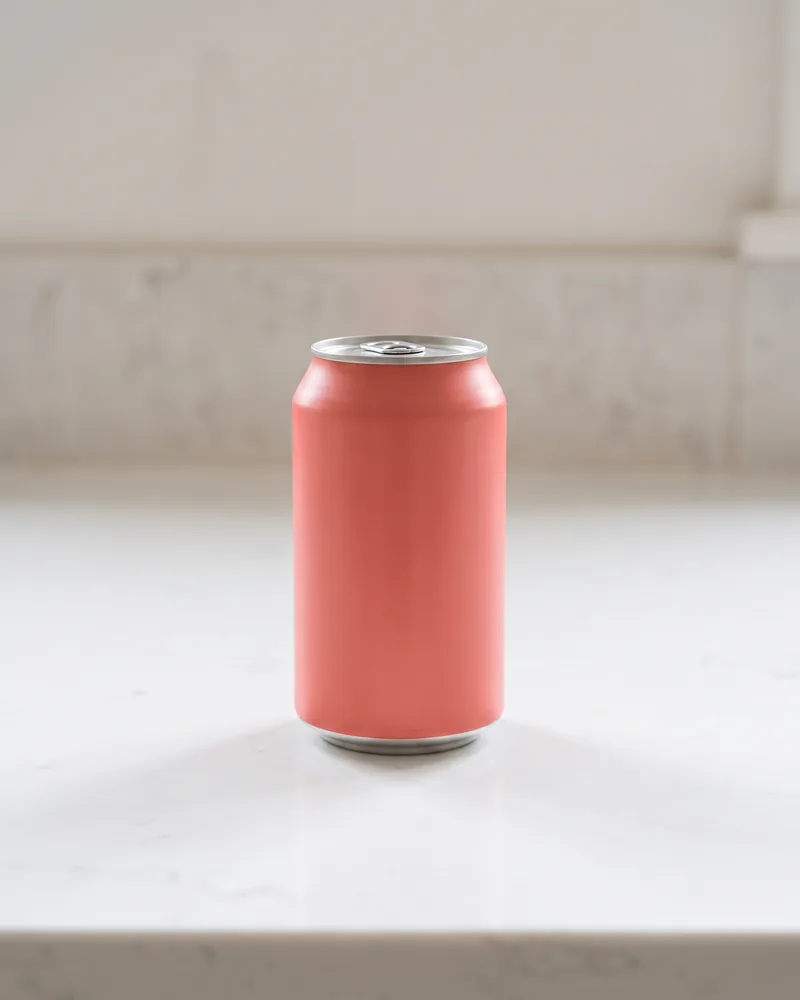
Place products in lifestyle scenes, swap backgrounds for seasonal campaigns, and remove props or tags without a reshoot. With a reference image, the product stays accurate across every listing. One studio shot can become a full set of images for Amazon, Shopify, or Etsy.
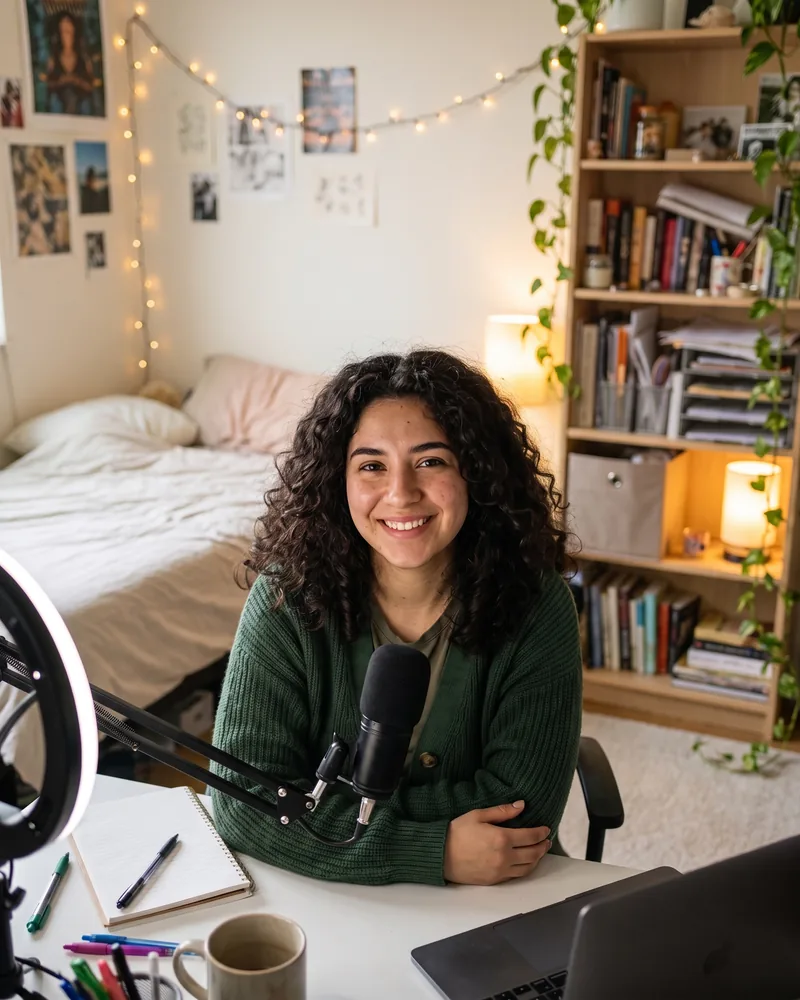
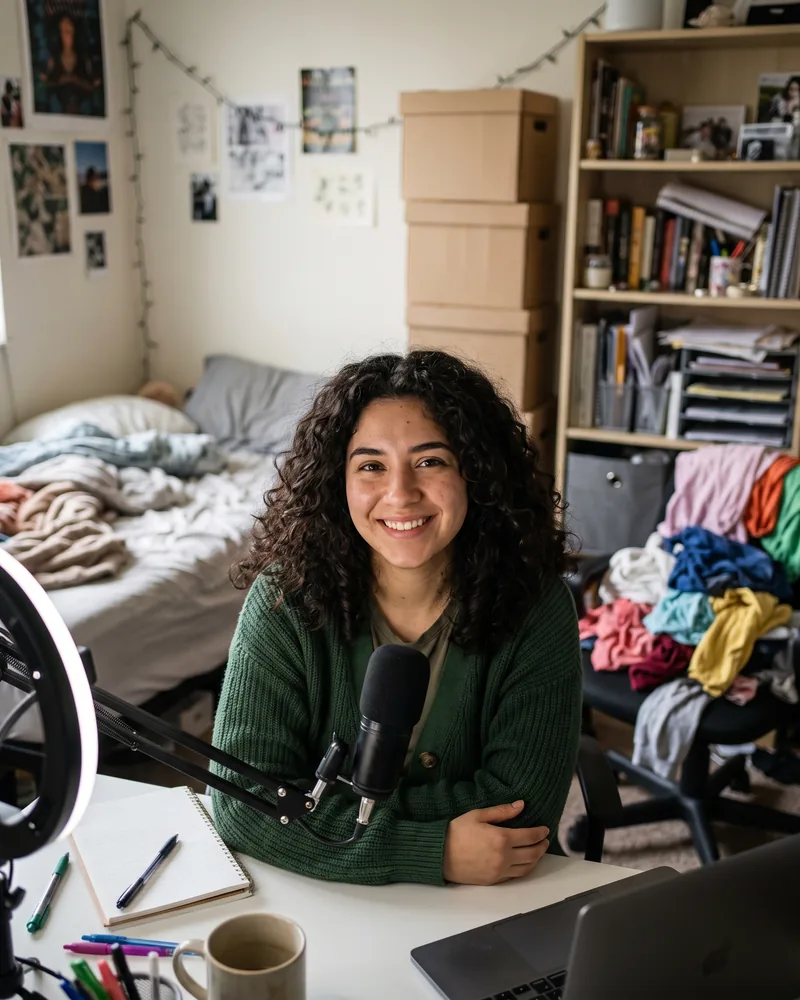
Clean up a messy background before you post, or add a detail that makes a thumbnail stand out. A stray cable or a stranger on a travel reel cover takes seconds to clear.
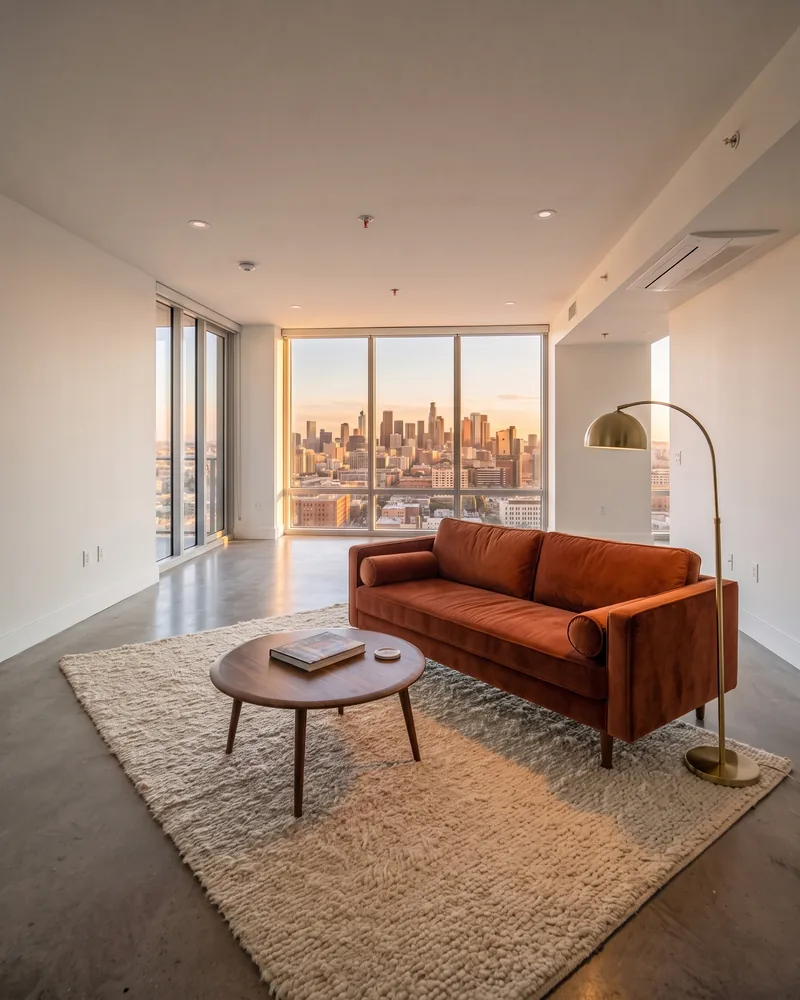
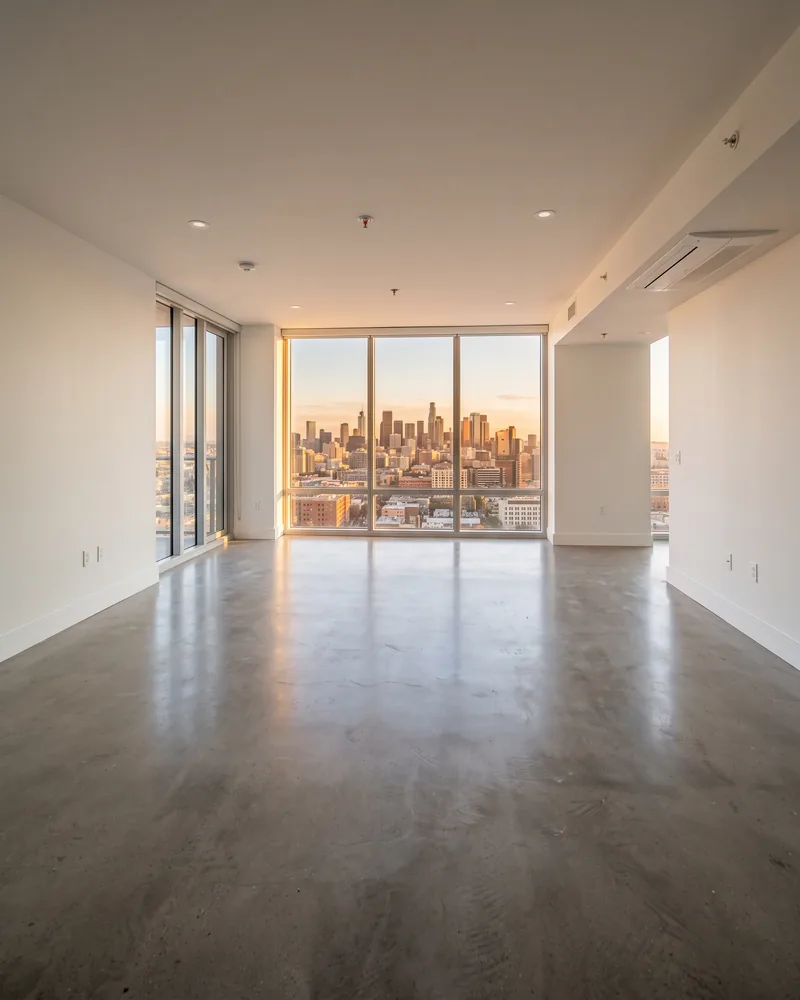
Stage empty rooms with furniture, test new wall colors, and remove clutter before listing photos go live.
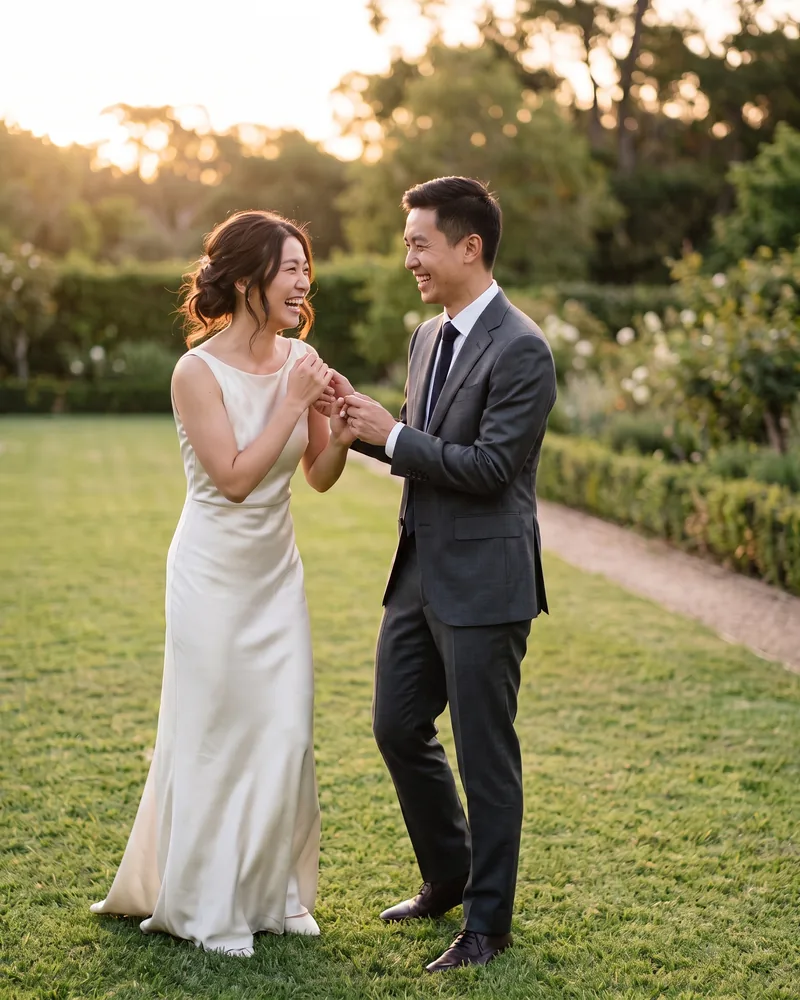
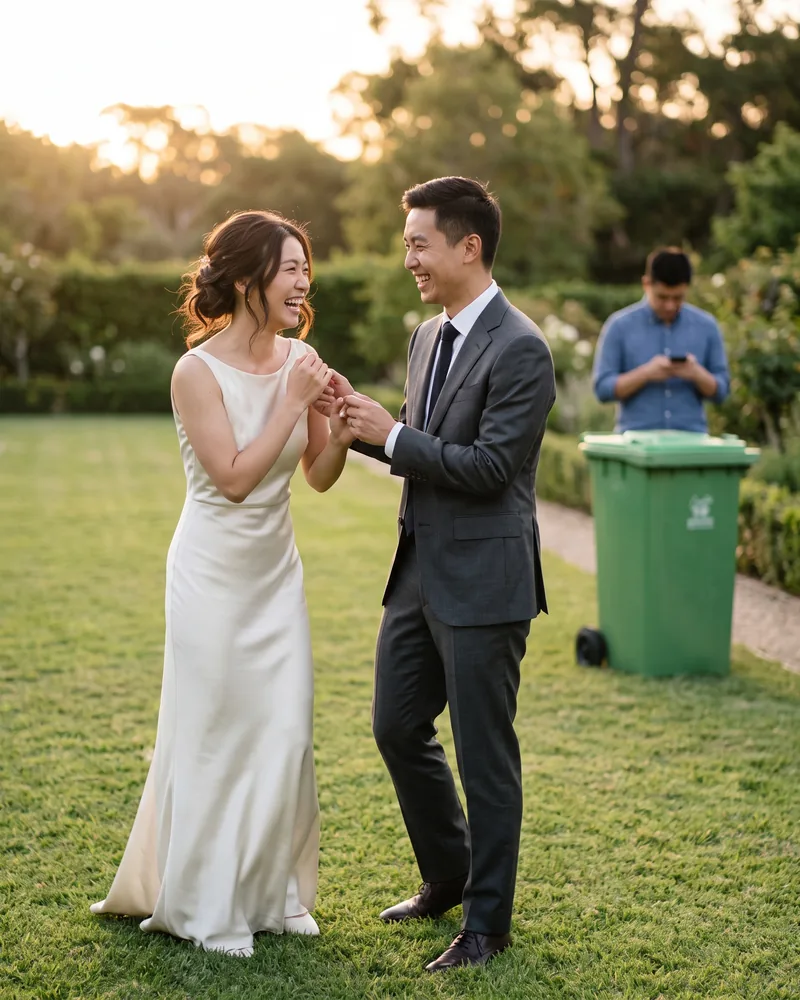
Remove photobombers, fill in a missing corner after straightening a horizon, or replace a dull sky while the subject stays untouched.
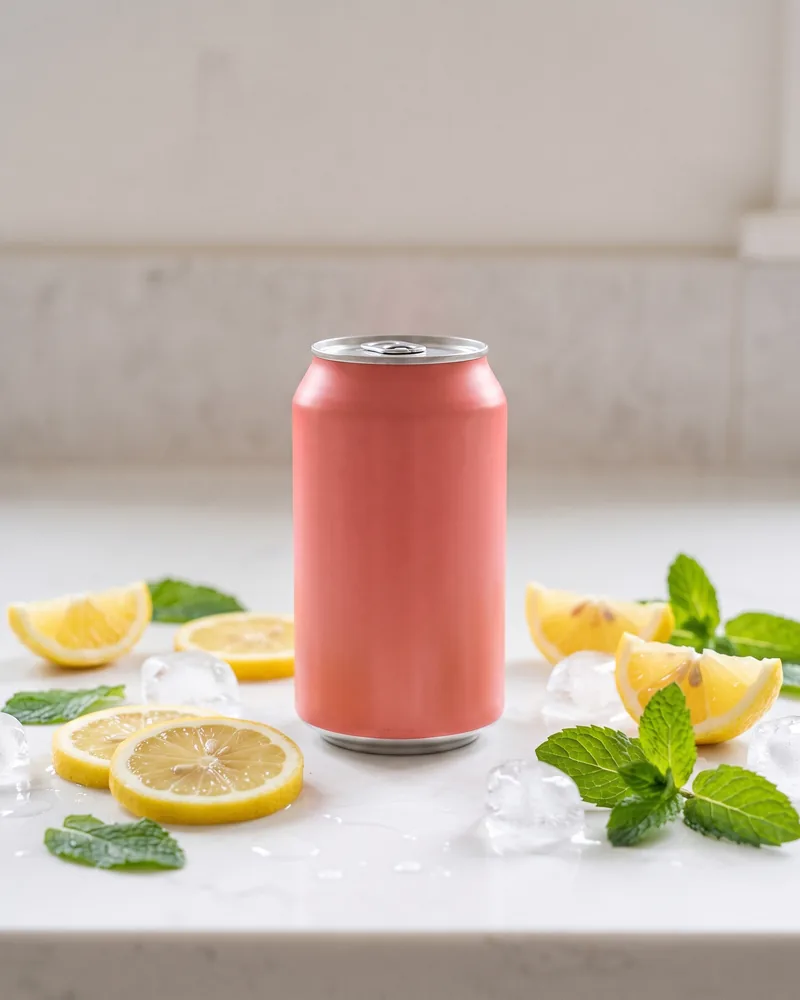
Produce ad variations fast. You can test different props and settings on the same base image without waiting for a designer.
FAQ
You can try it for free: create an account and your first edit is on us. Free results are 1K with a small watermark; any plan or credit pack removes the watermark and unlocks 2K and 4K. Failed edits never cost credits.
No. Generative fill on this site runs entirely in your browser. You don't need Photoshop, Adobe Firefly, or any other software.
Yes. In Photoshop, that message usually means your Adobe account, region, age, or plan doesn't qualify for Adobe's generative AI features. GenerativeFill.ai only needs an email or Google account and runs in any modern browser, so you can make the same kind of edit online.
Generative fill is a friendlier name for AI inpainting. Both fill a selected area of an image with new, context-aware content. Generative fill usually adds a text prompt so you control what appears.
Brush over the object, leave the prompt box empty, and click Generate. The AI fills the area with background that matches the surroundings.
Yes. Upload an optional reference image next to your prompt, and the result will follow its style, color, or object design.
Yes, you can use your results in personal and commercial projects, as long as you own or have the rights to the original photo you uploaded.
Usually the selection is too tight or the prompt is too vague. Enlarge the selection slightly, add a detail about lighting or material, and generate again.
Your photos are used only to create your edits, and only you can open them. Results stay in My Creations so you can download them again. We never use your photos to train AI models.
You can upload JPG, PNG, or WebP images up to 10 MB. Photos larger than 2048 pixels on the long side are scaled down before editing so each result comes back in seconds.
Yes. The editor runs in mobile browsers on iPhone and Android. Brush with one finger and pinch with two fingers to zoom in for precise selections around small objects.
No. GenerativeFill.ai is an independent AI generative fill tool and is not affiliated with Adobe Inc.
Your next edit takes less than a minute. Upload a photo, brush an area, and let generative fill do the rest.